The following data elements must be set up in order to utilize Maine SIF for Connect.
Step 1: Enable the Data Exchange (DEX)
To enable SIF, perform the following steps:
-
From the District Office, navigate to Start > System Management > Server> Plugin Configuration.
-
Type DEX in the Filter to narrow the selection to PowerSchool Data Exchange (DEX).
-
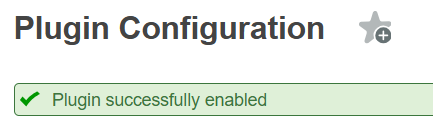
Place a checkmark in the box for PowerSchool Data Exchange (DEX) and Enable.
-
Confirm the plugin has been enabled by looking for the green Plugin successfully enabled message.
Note: This is a one time setup.
Step 2: Create a ME_SIF Profile
Once the plugin has been enabled, create a SIF profile by performing the steps below.
-
Type DEX in the Filter to narrow the selection to PowerSchool Data Exchange (DEX).
-
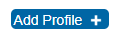
Click on PowerSchool Data Exchange (DEX), scroll to the bottom of the page and click ‘Profile Configuration’.
-
Click on Add Profile
-
Enter ME_SIF_2025 for the Profile Name. Select SIF for the Profile Type. Verify the profile is ‘On’ and click Save.
Step 3: Configure the SIF Profile & Test Connection
Once the profile has been created, it must be configured.
-
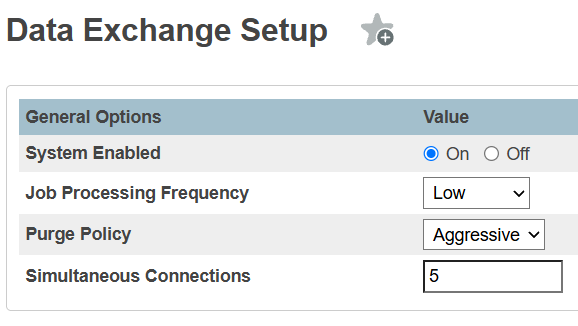
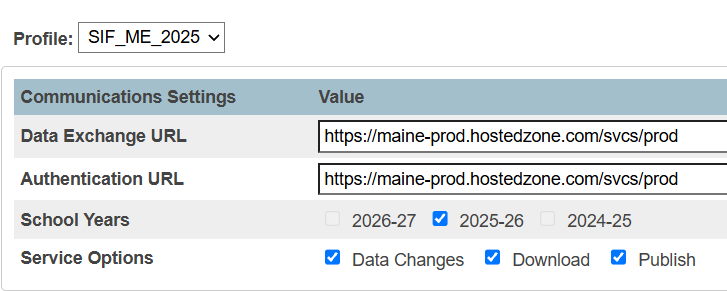
Navigate to System Management > Data Exchange > General Setup
-
Confirm that System Enabled is set to on. Update Data Exchange and Authentication URL fields with https://maine-prod.hostedzone.com/svcs/prod/ and make sure School Years has 2025-2026 enabled. To ensure data changes are sent, the Data Changes checkbox should also be enabled.
-
Save your changes using the save button in the bottom right corner of the page.
-
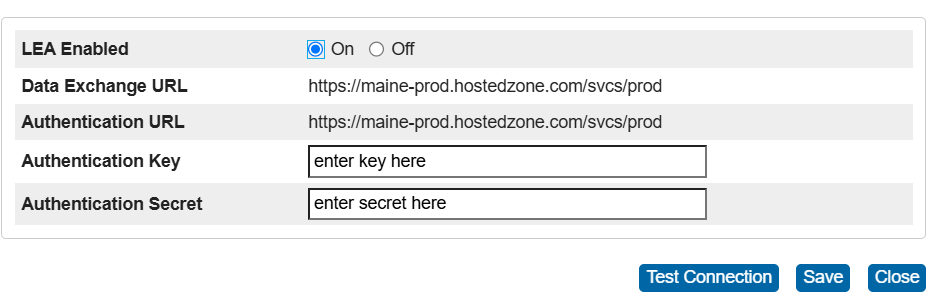
Select ‘Configure’ at the bottom of the page for the LEA that you wish to publish data for. This will open the screen where your Environment Variable (alphanumeric value only), Authentication Key (Token) and Authentication Secret (Shared secret) will be entered.
-
In this window, set LEA Enabled to On, enter the value received from MDE for Environment into the Environment field (SR v3.1.0), Session Token into the Authentication Key field and the Shared Secret into the Authentication Secret field. Click test connection to confirm communication can be established successfully, then save changes.
Are you a SubDistrict? For Districts with multiple SAU’s within their PS instance, you will need to enable and configure SUBDISTRICTS to allow data for each SAU to publish with it’s own SAUID. Once SubDistricts are enabled and configured, you must repeat step 4 & 5 for each Subdistrict defined. Each SubDistrict will be listed as an LEA with the SAUID listed and it’s own ‘Configure’ link on the profile page.
-
Confirm that the LEA displays an Active status and save your changes.
Other Setup Options
Enabling/Disabling an Organization (School)
To enable/Disable SIF for a specific school, navigate to System Management > Data Exchange > Organizations and make the desired selection. Save changes.
Note: Ensure the desired profile is selected prior to making the changes.
Enabling/Disabling an Organization Resource (Object)
To enable/disable SIF for a specific data set (i.e. school enrollment, student personal, etc.), navigate to System Management > Data Exchange > Resource Configuration and make the desired selection. Save changes.
Note: Ensure the desired profile is selected prior to making the changes.
Step 4: Publishing/Sending Data
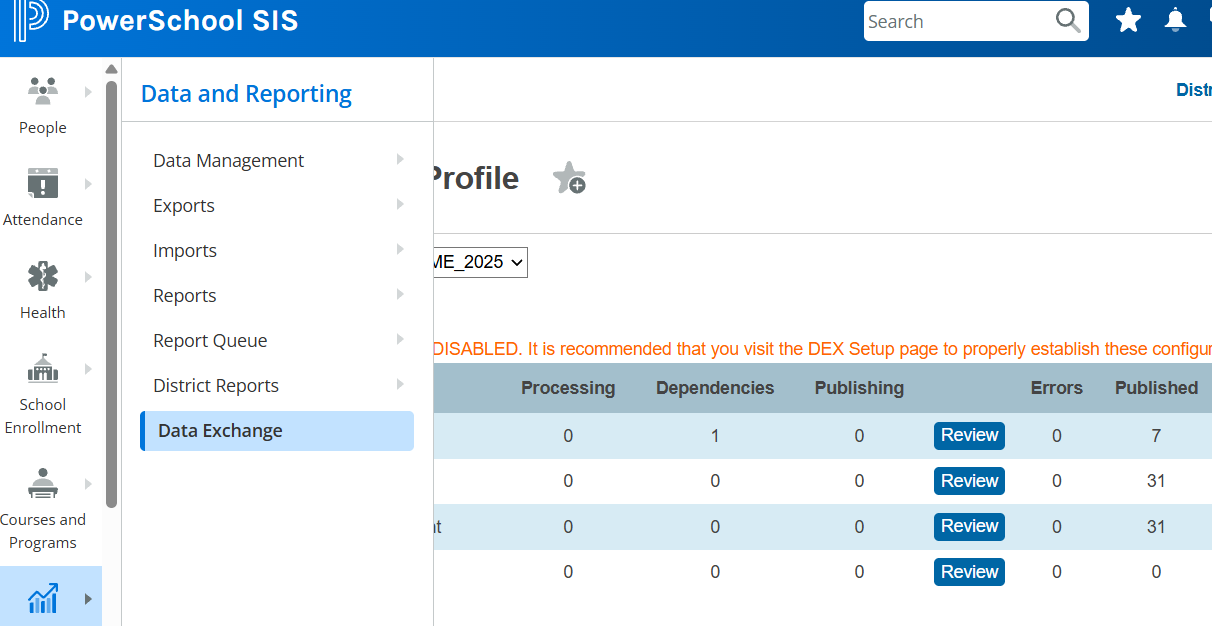
Once the setup is complete and the test connection is successful, the system is ready to begin sending/pulling data. An initial send can be done by navigating to Data and Reporting from the main PS menu and selecting Data Exchange. This will open the SIF Dashboard. Click on Run All to run all with the Publish All for all resources. This can be done once from the District level to complete for the entire District.
View the Dashboard to confirm that there are no errors and that the number of expected records were published. When publishing has completed, information will display in the last column indicating the last time data was published.