To view zone details, including connection parameters, ZIS information, participating agents, and any reported errors.
-
In the zones view of the main console, highlight the zone you wish to manage.
-
From the main menu, choose Zone > Zone Settings.
-
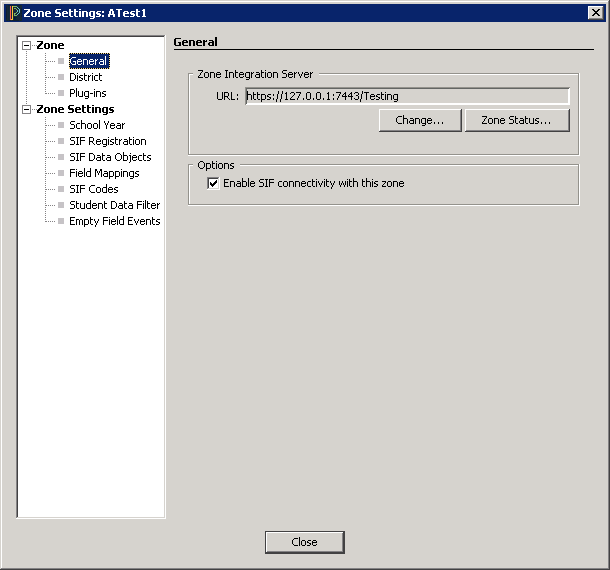
In the Zone tree, click on the General node.
-
Click the Zone Status button.
-
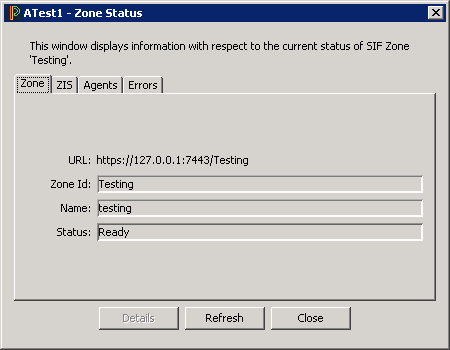
The Zone Status window displays tabs for viewing information about the Zone, ZIS, Agents (participating in the Zone), and any reported Errors (that might have taken place during communication between the Zone and the ZIS).
The Zone Status window has a Refresh button; click this button to update information on any of the Zone Status tabs. Click Close to return to the main console. (No changes can be made to zone settings from the Zone Status window and tabs.)
Zone Tab
The Zone Status window opens on the "Zone" tab, which provides details about the selected zone's URL, Zone ID, Name, and Status.
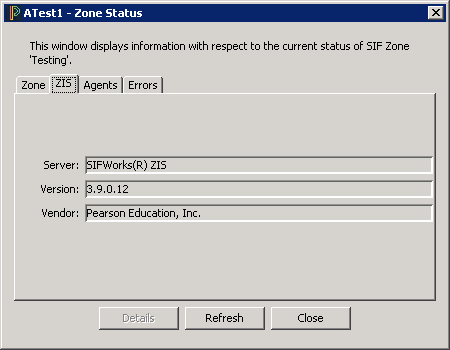
ZIS Tab
The ZIS tab displays Server, Version, and Vendor information for the ZIS to which the selected zone is currently connected.
Agents Tab
The Agents tab displays a list of all agents participating in the selected zone, along with their SourceId, Name, Version, Push/Pull mode, and Sleeping/Awake status.
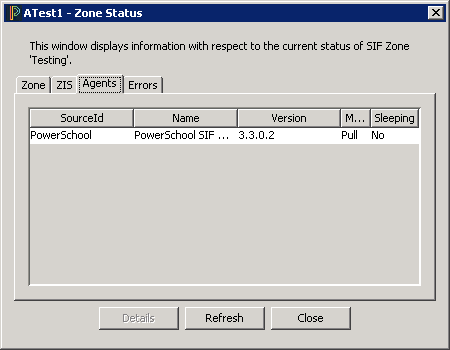
Note that the Details button is active on the Agents tab. To view details for any Agent participating in the selected zone, highlight the Agent and click the Details button to open the SIF Agent Details screen.
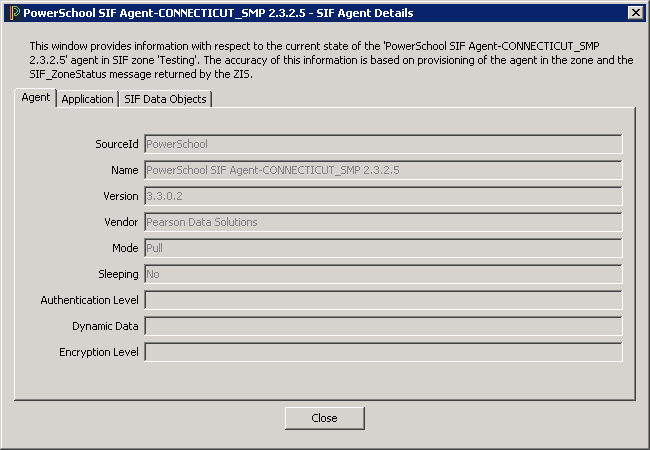
SIF Agent Details
Agent tab
The selected Agent's SourceId, Name, Version, Vendor, Mode, Sleeping status, Authentication Level, Dynamic Data, and Encryption Level or displayed here.
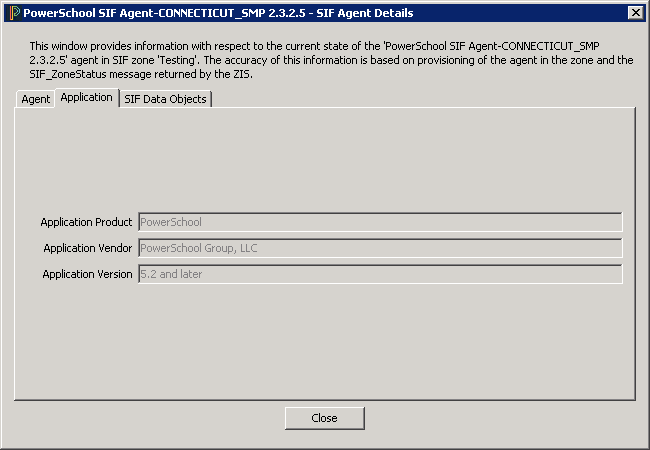
Application tab
This tab provides information about the application, if any, the SIF Agent supports. The Application Product (name), Application Vendor (maker), and Application Version are listed here.
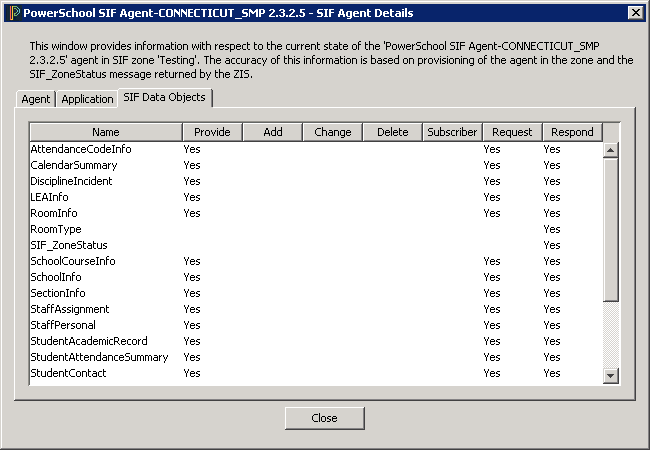
SIF Data Objects tab
The SIF Data Objects tab lists all SIF Data Objects supported by the selected Agent and zone. This screen displays information about the behaviors of the selected Agent and zone with respect to each SIF Data Object.
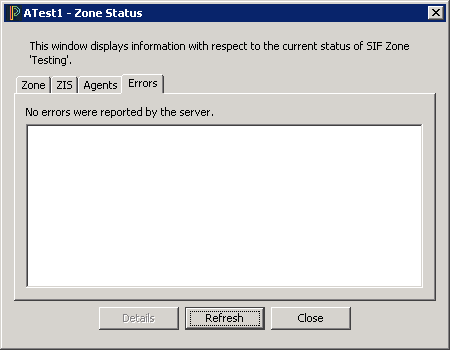
Errors Tab
Errors in communication between the ZIS and the selected zone are reported in the Errors tab of the Zone Status window.
Editing a District Zone
-
From the main window of the Console, highlight the Zone you wish to manage.
-
From the main menu, choose Zone > Zone Settings.
-
In the Zone tree, click on "District."
-
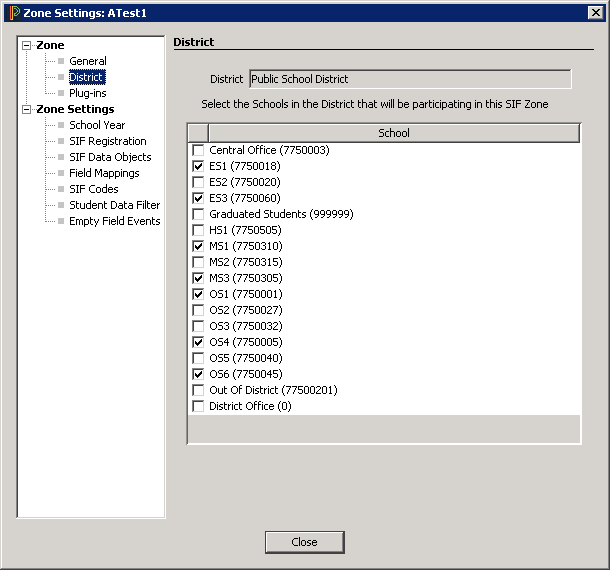
The Zone Settings > District window is displayed.
-
Select or unselect the schools you want to participate in the district zone by checking or unchecking the box(es).
-
Click "Close" to accept your changes and return to the main window of the Console.
Editing Zone Settings
-
From the main window of the Console, highlight the Zone you wish to manage.
-
From the main menu, choose Zone > Zone Settings.
-
The Zone Settings screen is displayed.
-
In the Zone tree, click on the settings you wish to view or change (School Year, SIF Registration, SIF Data Objects, Field Mappings, and SIF Codes).
-
Where applicable, uncheck the "Use Defaults" button; this will allow you to change the settings for the selected zone.
-
Enter the changes to the respective settings by entering required information, or selecting/de-selecting preferences.
-
Close the current settings window or dialog to accept your changes.
When a zone is created, it is displayed in the main window of the Console. You can change zone properties at any time by highlighting the zone in the tree, and choosing Zone > Zone Settings from the main menu.
Editing Zone SIF Registration > SIF Version
-
Start the Agent.
-
In the main window of the Console, highlight the zone you wish to manage.
-
From the main menu of the Console, select Zone > Zone Settings.
-
The Zone Settings window is displayed.
-
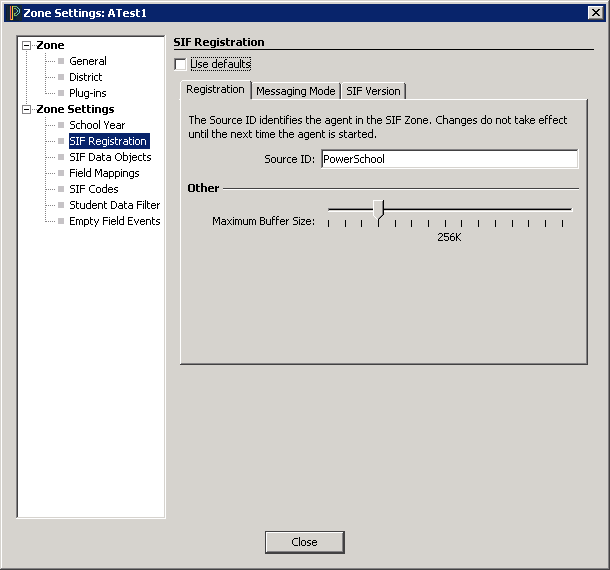
From the Zone Settings tree, click on SIF Registration.
-
The SIF Registration window is displayed.
-
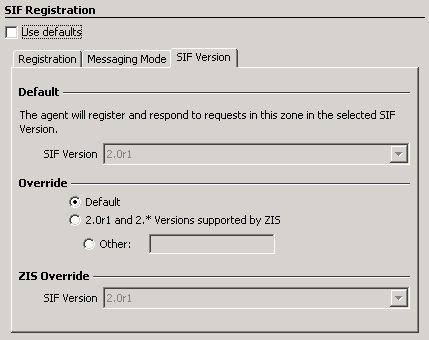
Click on the SIF Version tab.
-
Use default SIF Version settings for the selected zone by checking the "Use defaults" box at the top of the page, or leave the box unchecked to choose other settings:
Default: The default version is the SIF version that is set in the SIF Agent settings.
Override: The override setting allows the Agent to register itself in a selected version of SIF, responding only to requests specific to the override setting while still publishing events in the selected "Default" SIF version. This setting should be used only by administrators or users familiar with how SIF versioning governs zones.
ZIS Override: The Agent will register and respond to requests in this zone in the selected SIF Version.
When to Change: Administrators must choose the version of SIF the Agent will use to report SIF Events. Select the version that is used by the majority of your subscribing Agents. SIF 2.0r1 specifications dictate that a given message can only be delivered to those Agents that support the version of SIF used to produce the message.
Only administrators or users familiar with the SIF versioning governing their zones should override the default setting. Events will be published only in the selected "Default" SIF Version.
Editing Zone SIF Codes (Translation Tables)
-
Start the Agent.
-
In the main window of the Console, highlight the zone you wish to manage.
-
From the main menu of the Console, select Zone > Zone Settings.
-
The Zone Settings window is displayed.
-
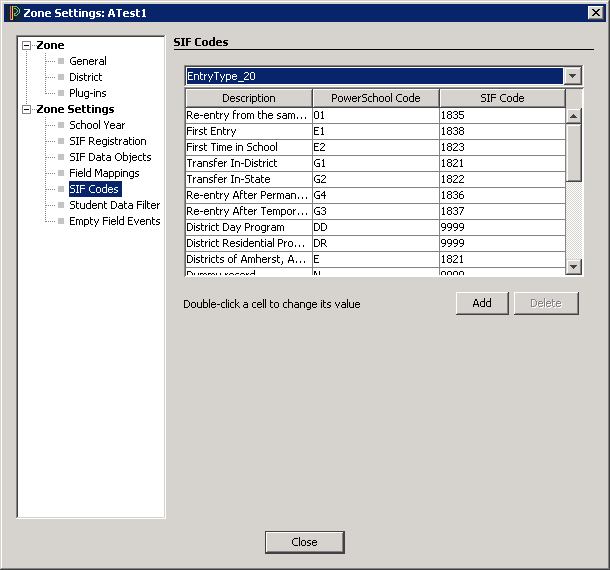
From the Zone Settings tree, click on SIF Codes.
-
From the drop-down list, select the Translation Table you wish to manage. (DistrictNum, EnrollStatusCode, Grade Level, etc.).
-
The list of SIF Codes for the selected table is displayed.
-
Double-click the target cell (Description, PowerSchool Code, or SIF Code).
-
Enter new information or values into the target cell.
-
Close the SIF Codes window to accept your changes and return to the main window of the Console.
Adding a SIF Code
-
Start the Agent.
-
In the main window of the Console, highlight the Zone you wish to manage.
-
From the main menu of the Console, select Zone > Zone Settings.
-
From the Zone Settings tree, click on SIF Codes.
-
From the drop-down list, select the Translation Table to which you wish to add a SIF Code.
-
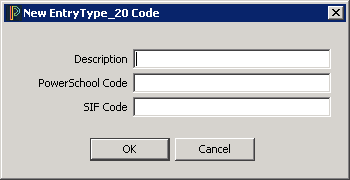
Click the Add button (located below the Translation Table).
-
The New Code dialog is displayed.
-
Enter the new code information. The PowerSchool Code is the value being used in PowerSchool. The SIF code is the valid code from the SIF Specification.
-
Click OK to accept your changes.
Deleting a SIF Code
-
Start the Agent.
-
In the main window of the Console, highlight the Zone you wish to manage.
-
From the main menu of the Console, select Zone > Zone Settings.
-
From the Zone Settings tree, click on SIF Codes.
-
From the drop-down list, select the Translation Table from which you wish to delete a SIF Code.
-
Highlight the code you wish to delete.
-
Click the Delete button, located below the Translation Table.
-
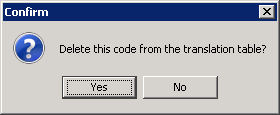
The Confirm Delete dialog is displayed.
-
Click Yes to delete this Code from the Selected Translation Table.
-
The selected SIF Code is deleted from the table.
Student Data Filter
-
Start the Agent.
-
In the main window of the Console, highlight the Zone you wish to manage.
-
From the main menu of the Console, select Zone > Zone Settings.
-
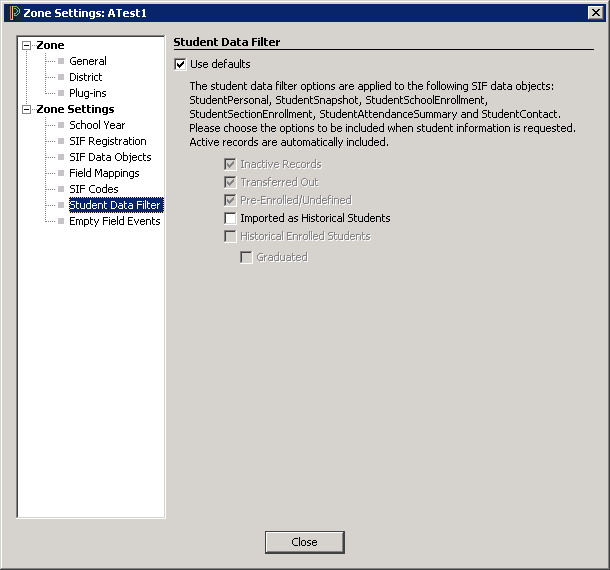
From the Zone Settings tree, click on Student Data Filter.
-
Select the filteroptions to apply to the indicated SIF data objects, then click Close to save your changes and exit the window.
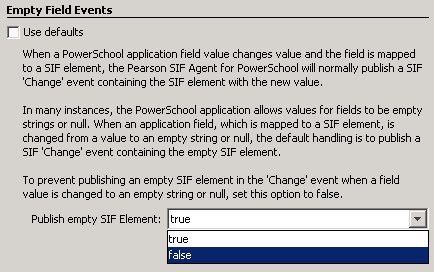
Empty Field Events
-
Start the Agent.
-
In the main window of the Console, highlight the Zone you wish to manage.
-
From the main menu of the Console, select Zone > Zone Settings.
-
From the Zone Settings tree, click on Empty Field Events.
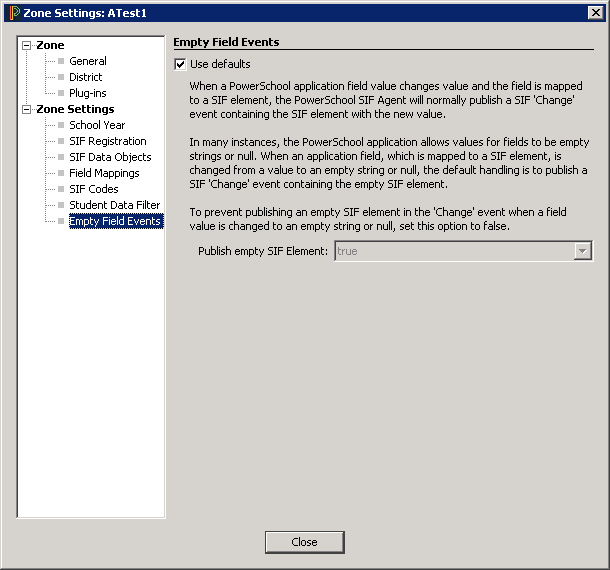
-
Select the desired option from the dropdown menu, then click Close to save your changes and exit the window.