
The Schools Interoperability Framework standard defines a consistent set of codes that are used for fields such as Grade Level, Ethnicity, Language, and English Proficiency. Each application must translate its own application-defined codes to these SIF-defined codes so that all Agents participating in a zone agree on a common set of values. The SIF Codes group of settings allows you to customize the PowerSchool-to-SIF translation tables used by the Agent when it publishes data to a zone.
Refer to the SIF Specification (available from the www.sifinfo.org website) for a complete list. The factory defaults reflect the SPEEDE standard to enable the Agent to more easily interoperate with older SIF 1.0r1 zones.
Before connecting the Agent to the Zone Integration Server, it is a good idea to verify that the factory default codes are appropriate for your district. Since codes such as Grade Level, Ethnicity, Entry, and Exit Codes are customizable in PowerSchool, it is usually necessary to configure the Agent's SIF Codes to reflect the specific PowerSchool values used at your district. For example, if your district uses "K" to represent the Kindergarten grade instead of the factory default of "00," the Grade Levels table must be changed to reflect this. Here is an overview of the options available and how to edit each of them.
Setting Default SIF Codes
-
Start the Agent.
-
From the main menu of the Console, select File > Agent Settings.
-
The Global Settings window is displayed.
-
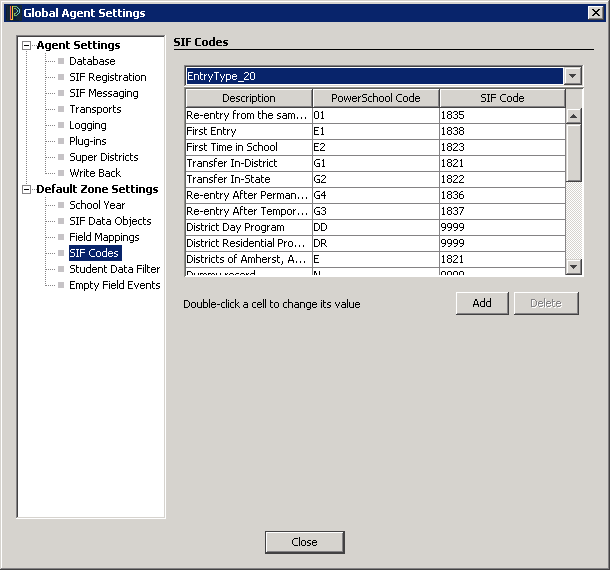
From the Default Zone Settings tree, click on SIF Codes.
-
The SIF Codes screen is displayed.
-
From the drop-down list, select the Translation Table you wish to manage (EnrollStatusCode, Ethnicity, Grade Level, etc.).
-
The list of SIF Codes for the selected table is displayed.
-
Double-click the target cell (Description, PowerSchool Code, or SIF Code).
-
Enter new information or values into the target cell.
-
Close the SIF Codes window to accept your changes and return to the main window of the Console.
Adding a SIF Code from the Default Zone Settings Menu
-
Start the Agent.
-
In the main window of the Console, highlight the Zone you wish to manage.
-
From the main menu of the Console, select Zone > Zone Settings.
-
From the Zone Settings tree, click on SIF Codes.
-
The SIF Codes page window is displayed.
-
From the drop-down list, select the Translation Table to which you wish to add a SIF Code.
-
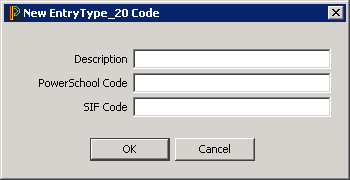
Click the Add button (located below the Translation Table).
-
The New Code dialog is displayed.
-
Enter the new Code information. The PowerSchool Code is the value being used in PowerSchool. The SIF code is the valid code from the SIF Specification.
-
Click OK to accept your changes
Deleting a SIF Code
-
Start the Agent.
-
From the main menu of the Console, select File > Agent Settings.
-
From the Zone Settings tree, click on SIF Codes.
-
From the drop-down list, select the Translation Table from which you wish to delete a SIF Code.
-
Highlight the code you wish to delete.
-
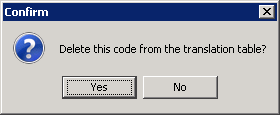
Click the Delete button, located below the Translation Table.
-
The Confirm Delete dialog is displayed.
-
Click "Yes" to delete this Code from the Selected Translation Table.