
If this is an upgrade from the Pearson SIF Agent for PowerSchool to the PowerSchool SIF Agent, uninstall the Pearson SIF Agent for PowerSchool first. Refer to the Uninstall section for directions before proceeding. Refer to Upgrading from the Pearson SIF Agent for PowerSchool after completing the install.
We recommend that you install the SIF Agent on the same server as the Oracle Database. Only one install of the SIF Agent is needed.
-
Download the file PowerSchoolSIFAgentInstaller.exe from PowerSource. The following icon will appear on your downloaded folder.
-
Double-click on the icon to start the installer. Note: Administrator privileges are required for installing the SIF Agent.
-
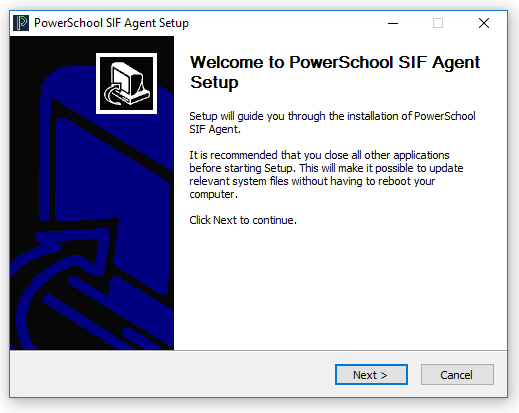
Once the installer has started, you will be presented with the welcome screen. Click Next to continue.
-
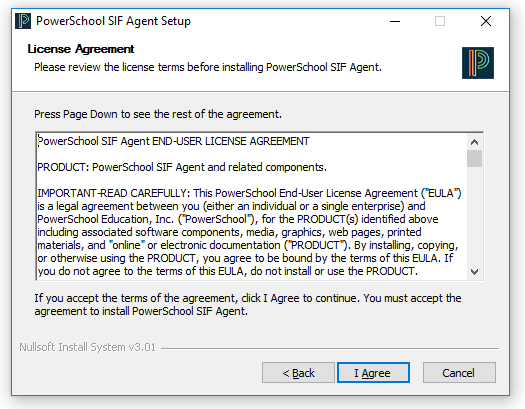
Next, the License Agreement screen is displayed.
-
Read the terms of the license agreement. To continue with installation, accept the terms of the license agreement by clicking the “I Agree” button.
-
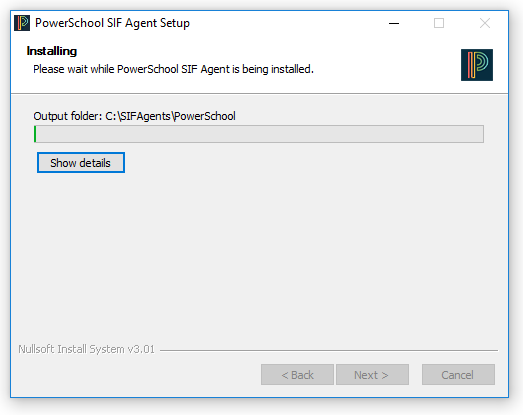
The Choose Install Location screen is displayed. The default install location for the SIF Agent is C:\SIFAgents\PowerSchool.

-
Choose the Install Folder, and click Install.
-
The Installing screen is displayed.
-
The Install Complete screen is displayed.
-
Click Finish to close the installer.
The PowerSchool SIF Agent is now installed in the chosen location. The installer will also do the following:
-
Configure the PowerSchool SIF Agent service.
-
Create an Uninstaller and add the PowerSchool SIF Agent to the Add and Remove Programs control panel.
-
Add a folder to the All Programs menu with shortcuts for the PowerSchool SIF Agent Console and Standalone Application.
-
Add a shortcut to the Startup folder for the PowerSchool SIF Agent Console.