
-
Start the Agent.
-
Open the Console and click Connect.
-
From the main menu of the Console, choose File > New Zone Group.
-
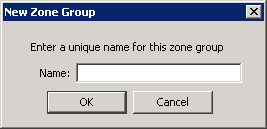
The New Zone Group dialog box is displayed.
-
Enter a unique name for the new zone group.
-
Click OK to accept the name of the new zone group.
-
The new zone group is displayed in the main window of the Console.